Boarding API
Introduction
The platform simplifies the process of onboarding a new Account or Payee through our API. Here's a step-by-step guide to using the API to create applications, establish links, and listen to events for status updates such as approval or other changes in an application's status. This guide walks you through creating applications, generating links, and setting up event listeners to monitor status updates such as approval and boarding.
The steps and examples below focus on the US flow (e.g. US ownership types, EIN/SSN, US address fields). The same flow applies for Canada merchant applications; if you are creating a Canadian application, see the three points below and the Canadian (CA) business types and owner titles section so you use the correct processing plan, addresses, and business types.
For Canadian applications only:
- Select a Canada processing plan — Use a processing plan configured for Canada. The Create Application request requires a
processing_plan_id; choose one that supports Canadian merchants. You can list available plans via the Processing Plans API. Note: ACH is only available for US-based processing plans. - Keep all addresses consistently in Canada — Set every address
countryfield to CA and use Canadian province/territory codes (e.g. AB, BC, ON, QC) and Canadian postal code format in both the mainaddressand each owner'sresidence_address. Inconsistent country or US-style fields will cause validation issues. - Use Canada business types and owner titles — Canada has different business types and allowed owner titles than the US. Use the Canadian (CA) business types and owner titles section below so your merchants select valid combinations.
Pre-requisites
Before you begin, ensure you have the following:
Understanding of Our Object Hierarchy:
- Familiarity with concepts such as Business and the ability to associate an Account with a Business. This understanding is crucial for organizing accounts and managing each client's data efficiently.
Access Credentials:
- You will need access credentials (x-api-key) to be included in the header of your API requests. These credentials should have been provided to you during the onboarding process.
API submit enablement (if submitting via API):
- Submitting applications through
PUT /applications/{id}/submitis feature-gated and must be enabled for your integration. - If you are using API submit, follow the dedicated guide: Application Submit via API.
- Submitting applications through
Step 1: Creating an application via API
To create an application link programmatically, follow these steps. You can create a minimal draft (with only the required fields) and add or change details later using the Update Application endpoint—updates are only allowed while the application is in DRAFT status. For full request and response schemas, see the Create Application endpoint in the API reference.
1.1. Send a POST request to the applications endpoint
The request creates an application with the values you pre-populate. Required fields are business_id, name, and processing_plan_id; all other fields are optional. If provided, values are pre-populated for your clients when they complete the application in the UI.
The country field (or address.country) determines whether the application is US or Canadian: use US or CA. This drives validation, allowed ownership types, and ID formats (e.g. US: EIN/SSN; Canada: BN/SIN).
Ownership type and owner title can be set when pre-filling. Enter ownership_type in the company section and the corresponding title in each owners entry; at least one owner must have signer set to true. Use the mappings below for US or Canada (CA).
US ownership types and titles
{
  "GOVERNMENT": ["ADMINISTRATOR"],
  "LIMITED_LIABILITY_COMPANY": ["PRESIDENT", "VICE_PRESIDENT", "TREASURER", "CEO", "CFO", "COO", "SECRETARY", "MEMBER"],
  "PARTNERSHIP": ["PARTNER"],
  "PRIVATE": ["PRESIDENT", "VICE_PRESIDENT", "SECRETARY", "TREASURER", "CEO", "CFO", "COO"],
  "PUBLIC": ["ADMINISTRATOR"],
  "SOLO_TRADER": ["OWNER"],
  "TAX_EXEMPT_ORGANIZATION": ["ADMINISTRATOR"]
}
Canadian (CA) ownership types and titles
For applications with country = CA, use one of these ownership types and the corresponding owner titles. For Canadian applications, company tax ID is BN (e.g. 123456789RC0001) and owner ID is SIN (not EIN/SSN).
{
  "COMMUNITY_CONTRIBUTION_COMPANY_FOR_PROFIT": ["PRESIDENT", "VICE_PRESIDENT", "SECRETARY", "TREASURER", "CEO", "CFO", "COO"],
  "COMMUNITY_CONTRIBUTION_COMPANY_NOT_FOR_PROFIT": ["OWNER", "PARTNER", "PRESIDENT", "VICE_PRESIDENT", "SECRETARY", "TREASURER", "CEO", "CFO", "COO", "MEMBER"],
  "COOPERATIVE_FOR_PROFIT": ["PRESIDENT", "VICE_PRESIDENT", "SECRETARY", "TREASURER", "CEO", "CFO", "COO"],
  "COOPERATIVE_NOT_FOR_PROFIT": ["OWNER", "PARTNER", "PRESIDENT", "VICE_PRESIDENT", "SECRETARY", "TREASURER", "CEO", "CFO", "COO", "MEMBER"],
  "EXTRA_PROVINCIAL_CORPORATION_FOREIGN_CORPORATION_REGISTERED_IN_CANADA": ["PRESIDENT", "VICE_PRESIDENT", "SECRETARY", "TREASURER", "CEO", "CFO", "COO"],
  "FOREIGN_PARTNERSHIP_REGISTERED_IN_CANADA": ["PARTNER"],
  "GENERAL_PARTNERSHIP": ["PARTNER"],
  "GOVERNMENT_ENTITY_FEDERAL_PROVINCIAL_MUNICIPAL_CROWN_CORPORATION": ["ADMINISTRATOR"],
  "LIMITED_PARTNERSHIP": ["PARTNER"],
  "NOT_FOR_PROFIT_ORGANIZATION_NON_CHARITY": ["OWNER", "PARTNER", "PRESIDENT", "VICE_PRESIDENT", "SECRETARY", "TREASURER", "CEO", "CFO", "COO", "MEMBER"],
  "PRIVATE_CORPORATION_FEDERALLY_OR_PROVINCIALLY_INCORPORATED": ["PRESIDENT", "VICE_PRESIDENT", "SECRETARY", "TREASURER", "CEO", "CFO", "COO"],
  "PUBLIC_CORPORATION_SHARES_TRADED_ON_EXCHANGE": ["PRESIDENT", "VICE_PRESIDENT", "SECRETARY", "TREASURER", "CEO", "CFO", "COO"],
  "REGISTERED_CHARITY": ["OWNER", "PARTNER", "PRESIDENT", "VICE_PRESIDENT", "SECRETARY", "TREASURER", "CEO", "CFO", "COO", "MEMBER"],
  "SOLE_PROPRIETORSHIP": ["OWNER"],
  "UNLIMITED_LIABILITY_CORPORATION_ULC": ["PRESIDENT", "VICE_PRESIDENT", "SECRETARY", "TREASURER", "CEO", "CFO", "COO"]
}
Headers
x-api-key: Your API key; replacekey_123456789with your actual API key.
Sample request body (US application)
The example below shows a US application (country: "US"). Use a 5-digit ZIP in zip_code and US state codes (e.g. TX, CA) in state. For a Canadian application, set address.country and each owner's residence_address.country to "CA", use Canadian province/territory codes (e.g. "ON", "BC", "QC"), and Canadian postal code format (e.g. K0E 0B2 or K0E0B2) in zip_code. Use a Canada-capable processing_plan_id and the Canadian ownership types and titles from the section above.
{
       "business_id": "business_id", // Enter your Business ID
       "name": "My best account", // The account name (required)
       "sales_code_id": "sc_310146",
       "company": {
           "ownership_type": "SOLO_TRADER",
           "category": "RETAIL",
           "ein": "Please have a valid EIN",
           "legal_name": "Glenn Graham",
           "dba_name": "Glenn Graham Cookies",
           "description": "Sell amazing cookies",
           "business_start_date": "2023-08-10",
           "website": "https://merchantaccount.com",
           "timezone": "EST",
           "phone_number": "5107052819",
           "mcc": "1731" // Enter your partner registered MCC code
       },
       "address": {
           "country": "US",
           "state": "TX",
           "city": "Austin",
           "zip_code": "35242",
           "address_line1": "858 Michele Trail",
           "address_line2": "BLD 16"
       },
       "industry_volume": {
           "avg_annual_volume": 100000,
           "avg_ticket_amount": 10000,
           "high_ticket_amount": 10000
       },
       "services_deliveries": {
           "same_day_delivery": 100,
           "one_week_delivery": 0,
           "two_week_delivery": 0,
           "one_month_delivery": 0,
           "more_than_one_month_delivery": 0
       },
       "transaction_modes": {
           "in_person": 0,
           "online": 100
       },
       "owners": [
           {
               "first_name": "Jewell",
               "last_name": "Quigley",
               "phone_number": "5121231234",
               "title": "OWNER", // Update Title based on your Ownership types
               "email":"Dawson.Stoltenberg@example.net",
               "ownership_percent": 100,
               "birth_date": "2001-08-11",
               "residence_address": {
                   "country": "US",
                   "state": "TX",
                   "city": "Austin",
                   "zip_code": "35242",
                   "address_line1": "7760 Kilback Lights",
                   "address_line2": "BLD 17"
               },
               "signer": true
           }
       ],
   "processing_plan_id": "partppl_2hpScdzijRDZqqu68xZ21ues42s" // Required: your Processing Plan ID
}
1.2. Generate application link
A processing plan must be selected for the application before you can generate a link. Once the application is created with the data you want to pre-fill, call the link endpoint to get a shareable URL for your clients. Depending on your configuration, the link may be on your domain or hosted by the platform. Note: Application links can expire; when a link expires, generate a new link from the same endpoint so the applicant can continue. Example:
Headers
x-api-key: Your API key. Replacekey_123456789with your actual API key.
Example Request
curl --location --request POST 'https://<api-host>/applications/{{application_id}}/link' \
--header 'x-api-key: key_123456789'
With the link generated, please have your client continue to fill out all the fields on the UI. Note we recommend your clients add their bank accounts at this step to the application so that it can be securely linked to their account. This will expedite the process of paying out to your clients.
Step 2: Application approval
After your client has completed the application on the UI, the application will go through the underwriting process. In this step, we review the business and owners' information. The majority of the time, our advanced underwriting will be able to finish reviewing an application quickly. Occasionally, if there are any clarifications, our underwriting team will request changes, and you will see a NEED_INFORMATION event from us. The initial application status will be DRAFT; once it has been fully verified by us, it will be changed to APPROVED.
2.1. Get current status
To get the current application status, call the Get Application endpoint (or use the request below):
Headers
x-api-key: Your API key. Replacekey_123456789with your actual API key.
Example Request
curl --location 'https://<api-host>/applications/{{applicationId}}' --header 'x-api-key: key_123456789'
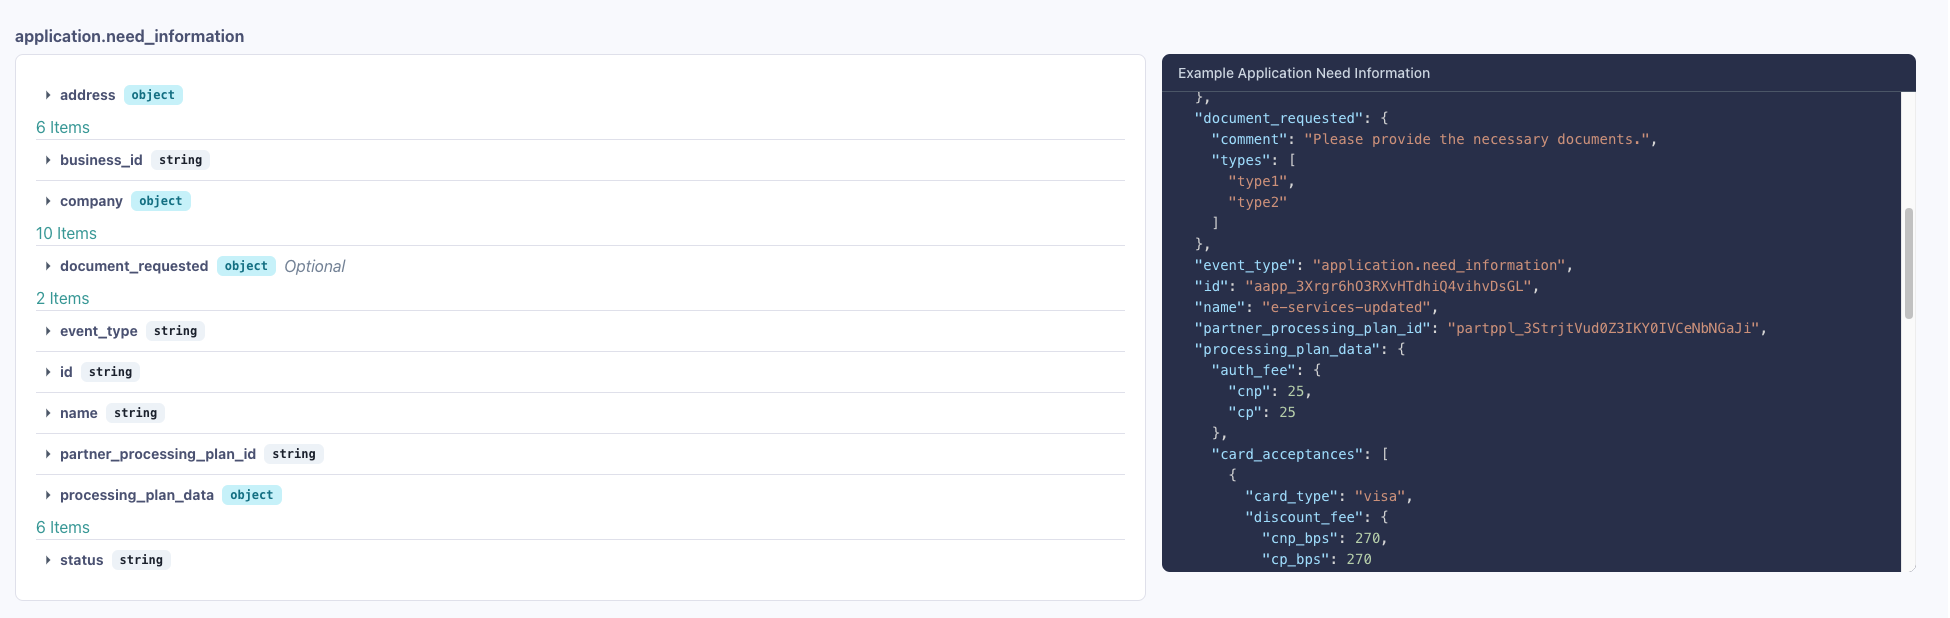
In your response, look out for the status field and, when underwriting has requested more information, the documents_requested (or related) details. Example when status is NEED_INFORMATION:
{
    "status": "NEED_INFORMATION",
    "documents_requested": {
        "document_types": [
            "Passport"
        ],
        "required": true,
        "received": true,
        "received_date": "2024-07-18T20:04:50.9",
        "comments": "We need the passport copy since driver's license is not available"
    }
}
In the above example, the underwriting team has requested a passport; resolve any requested items so the application can move forward.
These are the valid statuses an application can be in:
- APPROVED — The application has been approved; an Account is created automatically in your system.
- CANCELLED — The application has been cancelled (e.g. duplicate applications).
- CONDITIONALLY_APPROVED — The account is approved but not yet ready to process transactions.
- CREDIT_PENDED — Credit approval is required for the account.
- DECLINED — Underwriting has declined the application. The reason will be communicated to you.
- DECLINE_REEVALUATION_INITIATED — A reevaluation has been started after a decline.
- DRAFT — The application is still in draft and has not been submitted.
- NEED_INFORMATION — The underwriting team requires further information. Check the
documents_requested(ordocs_requested/comments_from_underwriting) fields for what to provide. - REJECT_BY_SALES — Our sales team has declined this account.
- REEVALUATION_APPROVED — The reevaluation has been approved; you can proceed.
- REEVALUATION_DECLINED — The reevaluation has been declined.
- REEVALUATION_PENDING — Reevaluation is in progress.
- UNDER_REVIEW — The application has been submitted for underwriting but has not been picked up yet. A new user may be created for your client at this stage based on the signer/owner in the application.
- UNDERWRITING — Underwriting is reviewing the application.
- UNDERWRITING_ERROR — An error was encountered during underwriting. We will work to resolve it.
You can also list applications and filter by status, business ID, or creation date to monitor all applications in one place.
Step 3: Listening to Events
We highly recommend you consume our webhook events, so that you can monitor events such as application approval or request of more information. Set up event listeners:
3.1. Subscribe to events using a webhook.
Make sure you have configured to consume the webhooks. You should see this on the partner portal page under development tab that you log on to.

If you navigate to within the development tag, you can see the different types of messages and their schema.
3.2. How to know that an application is approved?
We recommend subscribing to the following events:
v2.account.createdv2.account.gateway_updated
Both events include the application object, which can be used to trace back to the original application. You can easily check an application's current status using the fetch endpoint.
To view the account's status, use our get account endpoint. You should see a boarded status if the account has been successfully onboarded.
3.3. When are you ready to start receiving payouts?
Your account is ready to receive payouts when you receive the v2.account.payouts_enabled webhook event. You can also check this status by fetching the account endpoint.
Conclusion
By following these steps, you can programmatically create applications, generate links, and set up event listeners to monitor status updates via our API. This enables seamless integration and automation of application management processes.
For more details, use the API reference: Create Application, Update Application, Get Application, List Applications, Generate Application Link, and Get Account. For other endpoints or support, contact our team.